Graphic design is creative work. Renaming 400 exported assets at midnight is not. If you have ever spent a Tuesday afternoon manually resizing the same logo to seventeen different dimensions, or digging through a folder of files named final_FINAL_v3_USE_THIS.png, this guide is for you. Python scripts for graphic designers are not some mythical developer territory. They are small, learnable, genuinely useful tools that will hand you back hours of your week.
You do not need to be a software engineer. You need about an afternoon, Python installed on your machine, and a willingness to feel briefly confused before something clicks beautifully into place.
Why Python Is Perfect for Design Automation
Python reads almost like English, which matters when you are a designer who has never touched a terminal before. It also has a library called Pillow (the maintained fork of the old PIL image library) that makes image manipulation genuinely straightforward. Add colorthief for palette extraction, os for file system work, and pathlib for cleaner path handling, and you have a proper little automation toolkit. According to the BBC’s coverage of the tech skills gap in the UK, Python consistently ranks as one of the most in-demand skills across creative and technical roles alike. Designers who can script are suddenly very employable.
All the scripts below are beginner-friendly. Each one does one job, does it well, and is short enough that you can actually read it and understand what is happening.
Setting Up: Install Python and the Libraries You Need
Head to python.org and grab the latest stable release. Once installed, open your terminal and run:
pip install Pillow colorthiefThat handles the imaging heavy lifting. Everything else uses Python’s standard library, which comes pre-installed. Now, on to the good stuff.
1. Batch Resize Images to Multiple Dimensions
This is the one that pays for itself immediately. Drop all your source files into a folder, run the script, and get back a set of resized exports without touching a single slider.
from PIL import Image
import os

sizes = [(1920, 1080), (1280, 720), (800, 600), (400, 300)]
input_folder = "source_images"
output_folder = "resized_exports"
os.makedirs(output_folder, exist_ok=True)

for filename in os.listdir(input_folder):
    if filename.lower().endswith((".jpg", ".jpeg", ".png")):
        img = Image.open(os.path.join(input_folder, filename))
        for width, height in sizes:
            resized = img.resize((width, height), Image.LANCZOS)
            name, ext = os.path.splitext(filename)
            resized.save(os.path.join(output_folder, f"{name}_{width}x{height}{ext}"))
        print(f"Processed: {filename}")
LANCZOS is the resampling filter that gives you the sharpest results. Worth knowing.
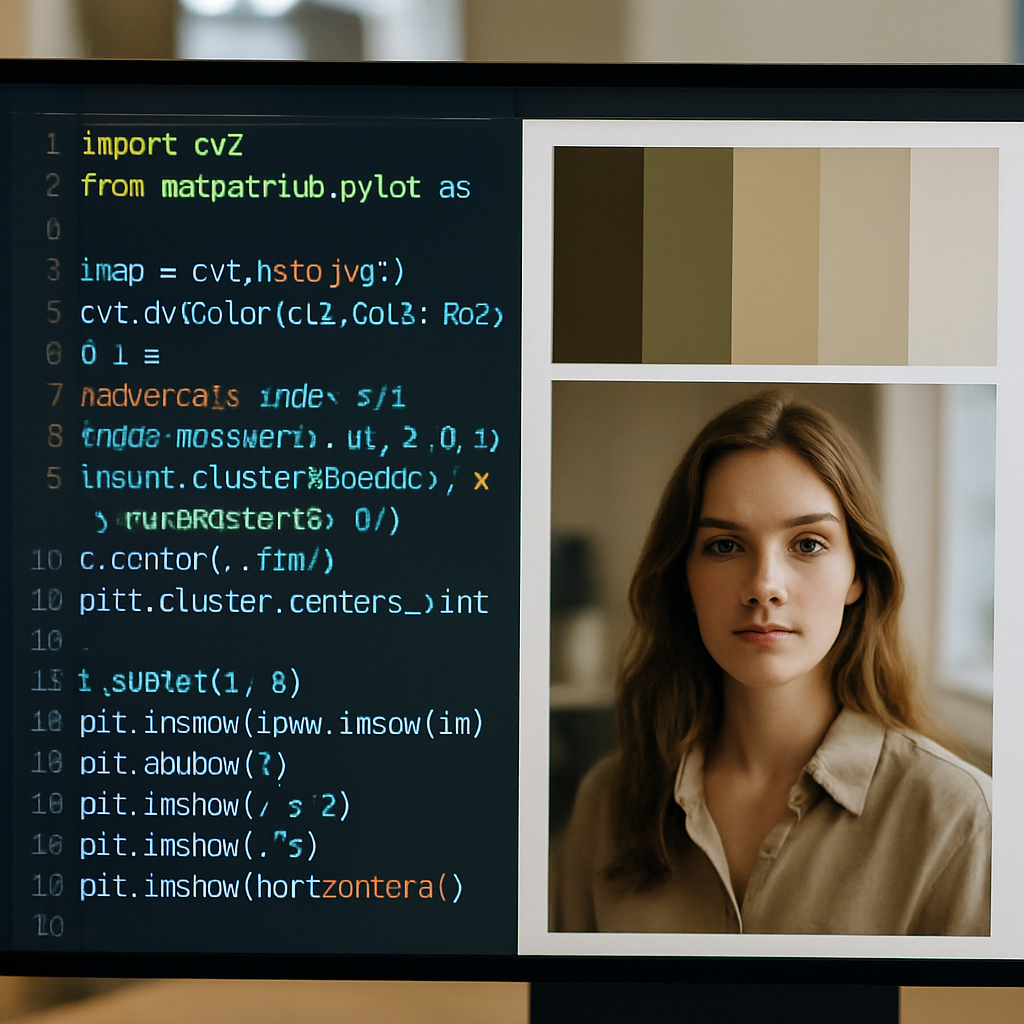
2. Extract a Colour Palette from Any Image
Colour palette extraction is genuinely magical the first time you run it. Point this script at a photograph or brand asset and it pulls out the dominant colours as hex values, ready to paste into Figma or your CSS variables.
from colorthief import ColorThief

def get_palette(image_path, colour_count=6):
    ct = ColorThief(image_path)
    palette = ct.get_palette(color_count=colour_count)
    hex_colours = ["#{:02x}{:02x}{:02x}".format(r, g, b) for r, g, b in palette]
    print(f"Palette for {image_path}:")
    for colour in hex_colours:
        print(colour)

get_palette("your_image.jpg")
Run this on a client’s product photography before a branding session and walk in looking extremely prepared.
3. Bulk Rename Files With a Sensible Convention
The dark art of file naming. This script renames every image in a folder using a clean prefix and sequential numbering, which is the sort of thing that makes a project folder look professional and stops your client forwarding you untitled-1-copy-2.png at 11pm.
import os
from pathlib import Path

folder = Path("design_assets")
prefix = "brand_asset"

files = sorted([f for f in folder.iterdir() if f.suffix in [".png", ".jpg", ".svg"]])
for i, file in enumerate(files, start=1):
    new_name = f"{prefix}_{i:03d}{file.suffix}"
    file.rename(folder / new_name)
    print(f"{file.name} -> {new_name}")
The :03d format means your files go 001, 002, not 1, 2, so they sort correctly in every file manager known to humanity.
4. Convert PNG Files to WebP in Bulk
WebP files are significantly smaller than PNGs without a meaningful quality hit, which matters for web performance. This script batch converts an entire folder.
from PIL import Image
import os

input_folder = "png_assets"
output_folder = "webp_exports"
os.makedirs(output_folder, exist_ok=True)

for filename in os.listdir(input_folder):
    if filename.lower().endswith(".png"):
        img = Image.open(os.path.join(input_folder, filename))
        name = os.path.splitext(filename)[0]
        img.save(os.path.join(output_folder, f"{name}.webp"), "webp", quality=85)
        print(f"Converted: {filename}")
5. Add a Watermark to Every Image in a Folder
Client proofing just became semi-automated. This script pastes a semi-transparent watermark PNG over every image in a folder and saves the results separately, so your originals remain untouched.
from PIL import Image
import os

watermark = Image.open("watermark.png").convert("RGBA")
input_folder = "proofs_source"
output_folder = "proofs_watermarked"
os.makedirs(output_folder, exist_ok=True)

for filename in os.listdir(input_folder):
    if filename.lower().endswith((".jpg", ".png")):
        base = Image.open(os.path.join(input_folder, filename)).convert("RGBA")
        wm_resized = watermark.resize((base.width // 3, base.height // 3))
        position = (base.width - wm_resized.width - 20, base.height - wm_resized.height - 20)
        base.paste(wm_resized, position, wm_resized)
        base.convert("RGB").save(os.path.join(output_folder, filename))
        print(f"Watermarked: {filename}")
6. Generate Consistent Social Media Export Sizes
Every platform wants a slightly different crop. Rather than doing this by hand in Photoshop for every campaign, define your sizes once and let Python handle the rest.
from PIL import Image
import os

social_sizes = {
    "instagram_square": (1080, 1080),
    "instagram_story": (1080, 1920),
    "linkedin_banner": (1584, 396),
    "twitter_header": (1500, 500),
}

image_path = "campaign_master.jpg"
img = Image.open(image_path)
base_name = os.path.splitext(image_path)[0]

for label, (w, h) in social_sizes.items():
    resized = img.resize((w, h), Image.LANCZOS)
    resized.save(f"{base_name}_{label}.jpg")
    print(f"Saved: {label}")
7. Strip EXIF Data Before Sending Files to Clients
EXIF metadata in photographs can contain GPS coordinates, camera model, original file paths, and other information you probably do not want attached to client deliverables. This is a one-liner wrapped in a function.
from PIL import Image
import os

def strip_exif(input_path, output_path):
    img = Image.open(input_path)
    clean = Image.new(img.mode, img.size)
    clean.putdata(list(img.getdata()))
    clean.save(output_path)
    print(f"Clean copy saved: {output_path}")

strip_exif("photo_with_metadata.jpg", "photo_clean.jpg")
8. Auto-Generate Thumbnail Previews
Drop all your large master files into a folder and get a thumbs subfolder of 200px previews, useful for project documentation or quick client reviews.
from PIL import Image
import os

folder = "master_assets"
thumb_folder = os.path.join(folder, "thumbs")
os.makedirs(thumb_folder, exist_ok=True)

for filename in os.listdir(folder):
    if filename.lower().endswith((".jpg", ".png")):
        img = Image.open(os.path.join(folder, filename))
        img.thumbnail((200, 200))
        img.save(os.path.join(thumb_folder, filename))
        print(f"Thumb: {filename}")
Note that thumbnail() preserves aspect ratio, unlike resize(). Handy distinction to know.
9. Check Images Meet Minimum Resolution Requirements
Before sending a batch off to print, run this to flag anything under your minimum resolution. Saves the awkward conversation with the print house.
from PIL import Image
import os

min_width = 2480
min_height = 3508  # A4 at 300dpi
folder = "print_ready"

for filename in os.listdir(folder):
    if filename.lower().endswith((".jpg", ".png")):
        img = Image.open(os.path.join(folder, filename))
        w, h = img.size
        if w < min_width or h < min_height:
            print(f"WARNING - Too small: {filename} ({w}x{h})")
        else:
            print(f"OK: {filename} ({w}x{h})")
10. Build a Colour Palette HTML Swatch Sheet
Extract a palette and immediately generate an HTML file showing the swatches, which you can drop straight into a client presentation or design brief document. This is the one that impresses people.
from colorthief import ColorThief
def generate_swatch_html(image_path, output_html="swatches.html", count=8):
ct = ColorThief(image_path)
palette = ct.get_palette(color_count=count)
hex_list = ["#{:02x}{:02x}{:02x}".format(r, g, b) for r, g, b in palette]
swatches = "".join(
f''
for c in hex_list
)
html = f"Colour Palette
{swatches}"
with open(output_html, "w") as f:
f.write(html)
print(f"Swatch sheet saved: {output_html}")
generate_swatch_html("brand_photo.jpg")
Where to Go Next With Python Scripts for Graphic Designers
These ten scripts are the gateway. Once they feel comfortable, look into watchdog for scripts that trigger automatically when files land in a folder, and reportlab for generating PDFs programmatically. If you want structured learning, the UK Government Digital Service competency framework includes scripting and automation as valued technical skills across digital roles, which tells you something about where this is all heading.
The bigger point is this: repetitive tasks are not part of your job description. They are friction. Python scripts for graphic designers exist specifically to remove that friction, and the learning curve is genuinely shallower than most designers expect. Ten scripts, one afternoon, and suddenly your workflow is a different creature entirely.
Frequently Asked Questions
Do I need to know how to code to use Python scripts for graphic design tasks?
Not really. The scripts in this guide are written to be readable even if you have never coded before. Start by copy-pasting and running them as-is, then gradually tweak the folder names and settings to match your workflow. That is how most designers get started.
What Python libraries do I need for image automation?
Pillow is the essential one, handling resizing, format conversion, watermarking, and thumbnail generation. For colour palette extraction, add colorthief. Both install in seconds with pip and are well-documented with active communities.
Will these scripts work on a Mac and Windows?
Yes. Python and Pillow run on both platforms without modification. The file paths in the scripts use Python's os and pathlib modules, which handle the differences between operating systems automatically.
How long does it take to batch resize 500 images with Python?
Typically under a minute for 500 standard JPEG or PNG files, depending on the output sizes and your machine's specs. Compared to doing it manually in Photoshop or Affinity Photo, it is essentially instant.
Can I automate Figma or Adobe tasks with Python?
Figma has a REST API that Python can talk to, so yes, things like exporting frames or reading file data are possible. Adobe's Creative Cloud apps support scripting via their own tools, though Python integration there is less direct. For file-level work like the scripts in this guide, Python works independently of any design app.